
- Orthophoto: Displays an orthomosaic image of a vertical view of the area.
- Plant Health: Displays an image depicting relative health of plants. Pertains to images captured with multispectral sensors.
- Surface Model: Displays a 2D representation of elevation that includes terrain, buildings, trees and other structures.
- Terrain Model: 2D representation of elevation that includes terrain only.
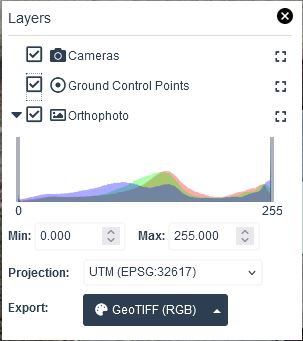
- Cameras: Displays icons on the map indicating where the image was captured. Clicking on an icon displays the image and permits downloading of the photo.
- Ground Control Points: Displays icons on the map indicating where the ground control points were located. Clicking on an icon displays the list of images in which the point appears.
- Orthophoto: Displays the orthomosaic photo. Other controls allow one to change the color range, coordinate system projection and to download the image.
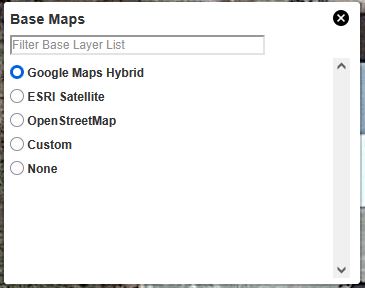
- Google Maps Hybrid: Places a background image from Google Maps.
- ESRI Satellite: Places a background image from Esri.
- OpenStreetMap: Places a background image from Open Street Map.
- Custom: Allows one to upload their own background image.
- None: Removes the background image.
- Allows one to upload a GeoJSON (.json) or ShapeFile (.zip) as a temporary overlay.
PLEASE NOTE: This is a quick/rough contour diagram. Our contour deliverables are custom (based on your requirements) and with finer details.
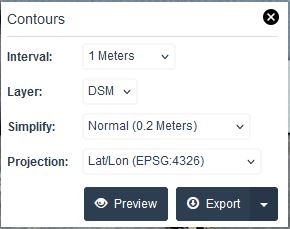
- Interval: Set the height difference between contour lines.
- Layer: Heights may be based on the Digital Surface Map (DSM) or Digital Terrain Map (DTM).
- Simplify: Sets the "smoothing" of the contour lines.
- Projection: Choose the coordinate system projection for export.
- Preview: Displays the contour lines over the image.
- Export: Downloads the contour map file in the chosen format.
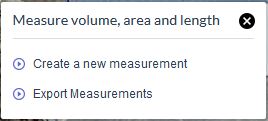
- Create a new measurement: Click to begin a new measurement.
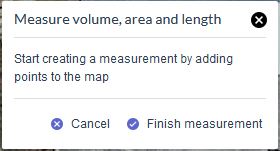
- Click on the map to create line segments for the measurement. Then click Finish measurement.
- Export Measurements: Click to download a .geojson file of the measurement(s).
- Click to display in fullscreen mode. Note: The demo is already fullscreen.
- Zoom in: Click to zoom (scale) in on the map.
- Zoom out: Click to zoom (scale) out on the map.
- Choose measurement units: Metric, Imperial or Imperial (US).
- Slide to adjust the opacity of the image.
- 3D Mode: Click to switch to the 3D Model view.
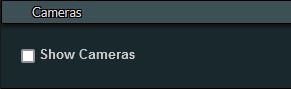
- Show Cameras: Check to display the camera locations when images were taken. Click an icon to display its photo. Note: It may be necessay to zoom out to see the icons.
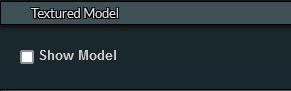
- Show Model: Check to "wrap" the point cloud with rendered images.
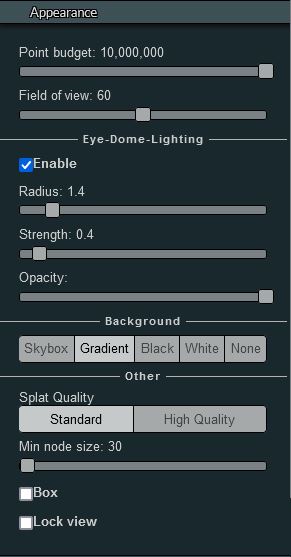
Adjust the look and feel of the model.
- Point budget: Changes the cloud density.
- Field of view: Similar to changing the zoom level.
- Eye-Dome-Lighting: Changes the lighting effect.
- Background: Choose from several different backgrounds.
- Other: Modifies model quality.
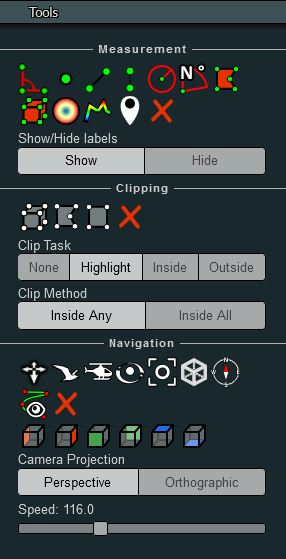
- Measurement: Permits one to measure Angles, Points, Distances, Heights, Circles, Arc Angles, Areas, Volumes, Height Profiles and Create Annotations.
- Clipping: Allows one to "remove" parts of the model based on Volume, Area or Selection.
- Navigation: Allows one to "navigate" by different means and views.
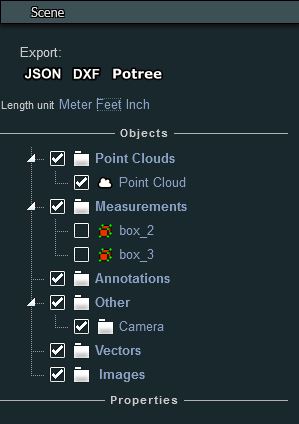
- Export: Allows one to download various features of the model.
- Length unit: Choose Meter, Feet or Inch for measurements.
- Objects: Lists the objects in the model. They may be enabled or disabled.
- Properties: Lists properties of any object selected. Some properties may be copied or changed here and the object may also be deleted.
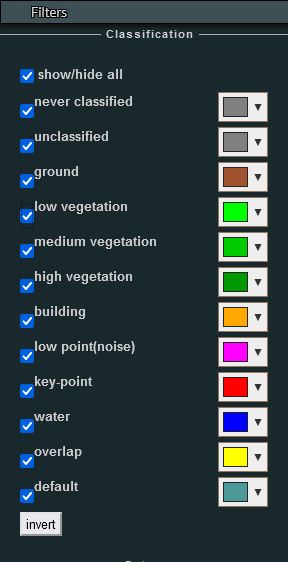
- Classification: Different areas of the scene are designated with a certain classification. The areas may be "filtered" out by unchecking their checkbox.
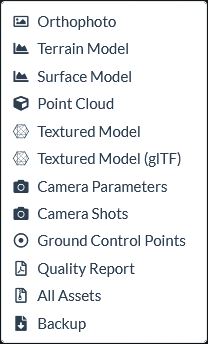
- Allows one to download available assets.
- 2D Mode: Click to switch to the 2D Map view.